
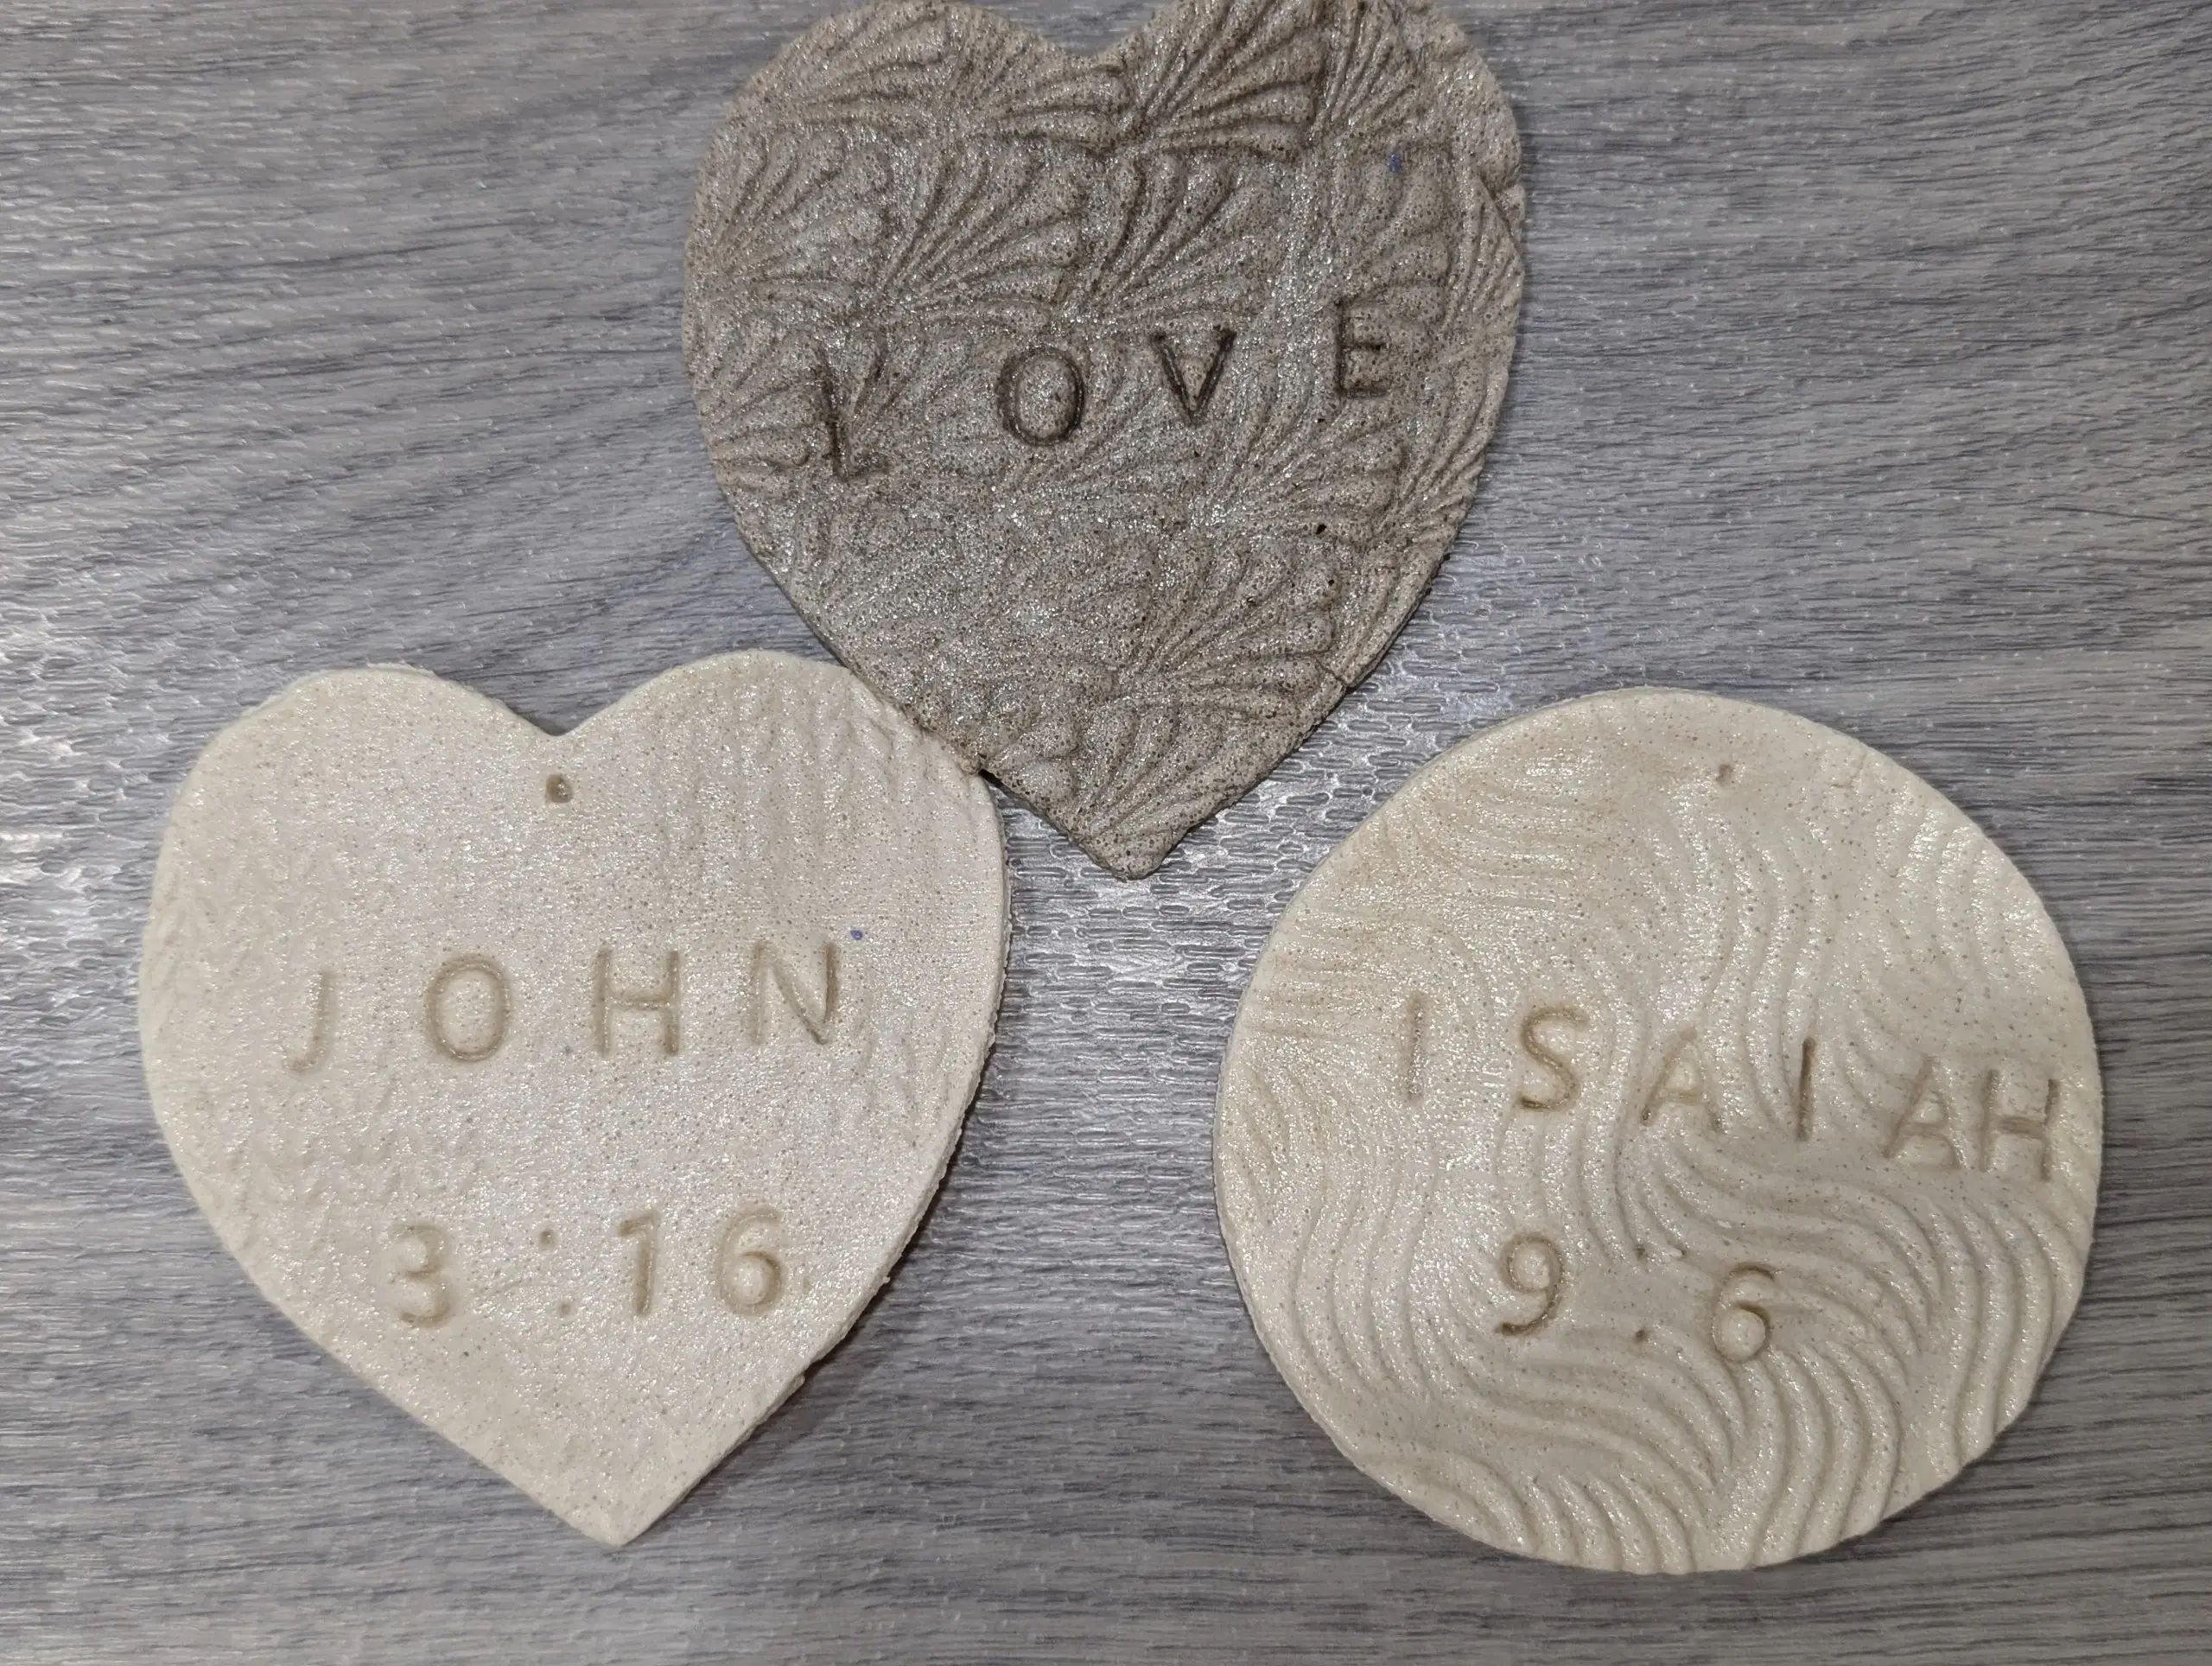
Article contents
Introduction
Contains Amazon Affiliate Links and linked images.
Salt dough ornaments and cutouts are one of my favorite inexpensive crafts. With just flour, salt, and water, you can create ornaments that become treasured keepsakes for years (if you’re careful with them). I've also experimented with coffee grounds for a rustic farmhouse look and natural food powders for colorful dough. Read on to learn what worked and what didn't. It is a simple craft but I’ve gathered some helpful tips and tricks!
---
Ingredients & Materials
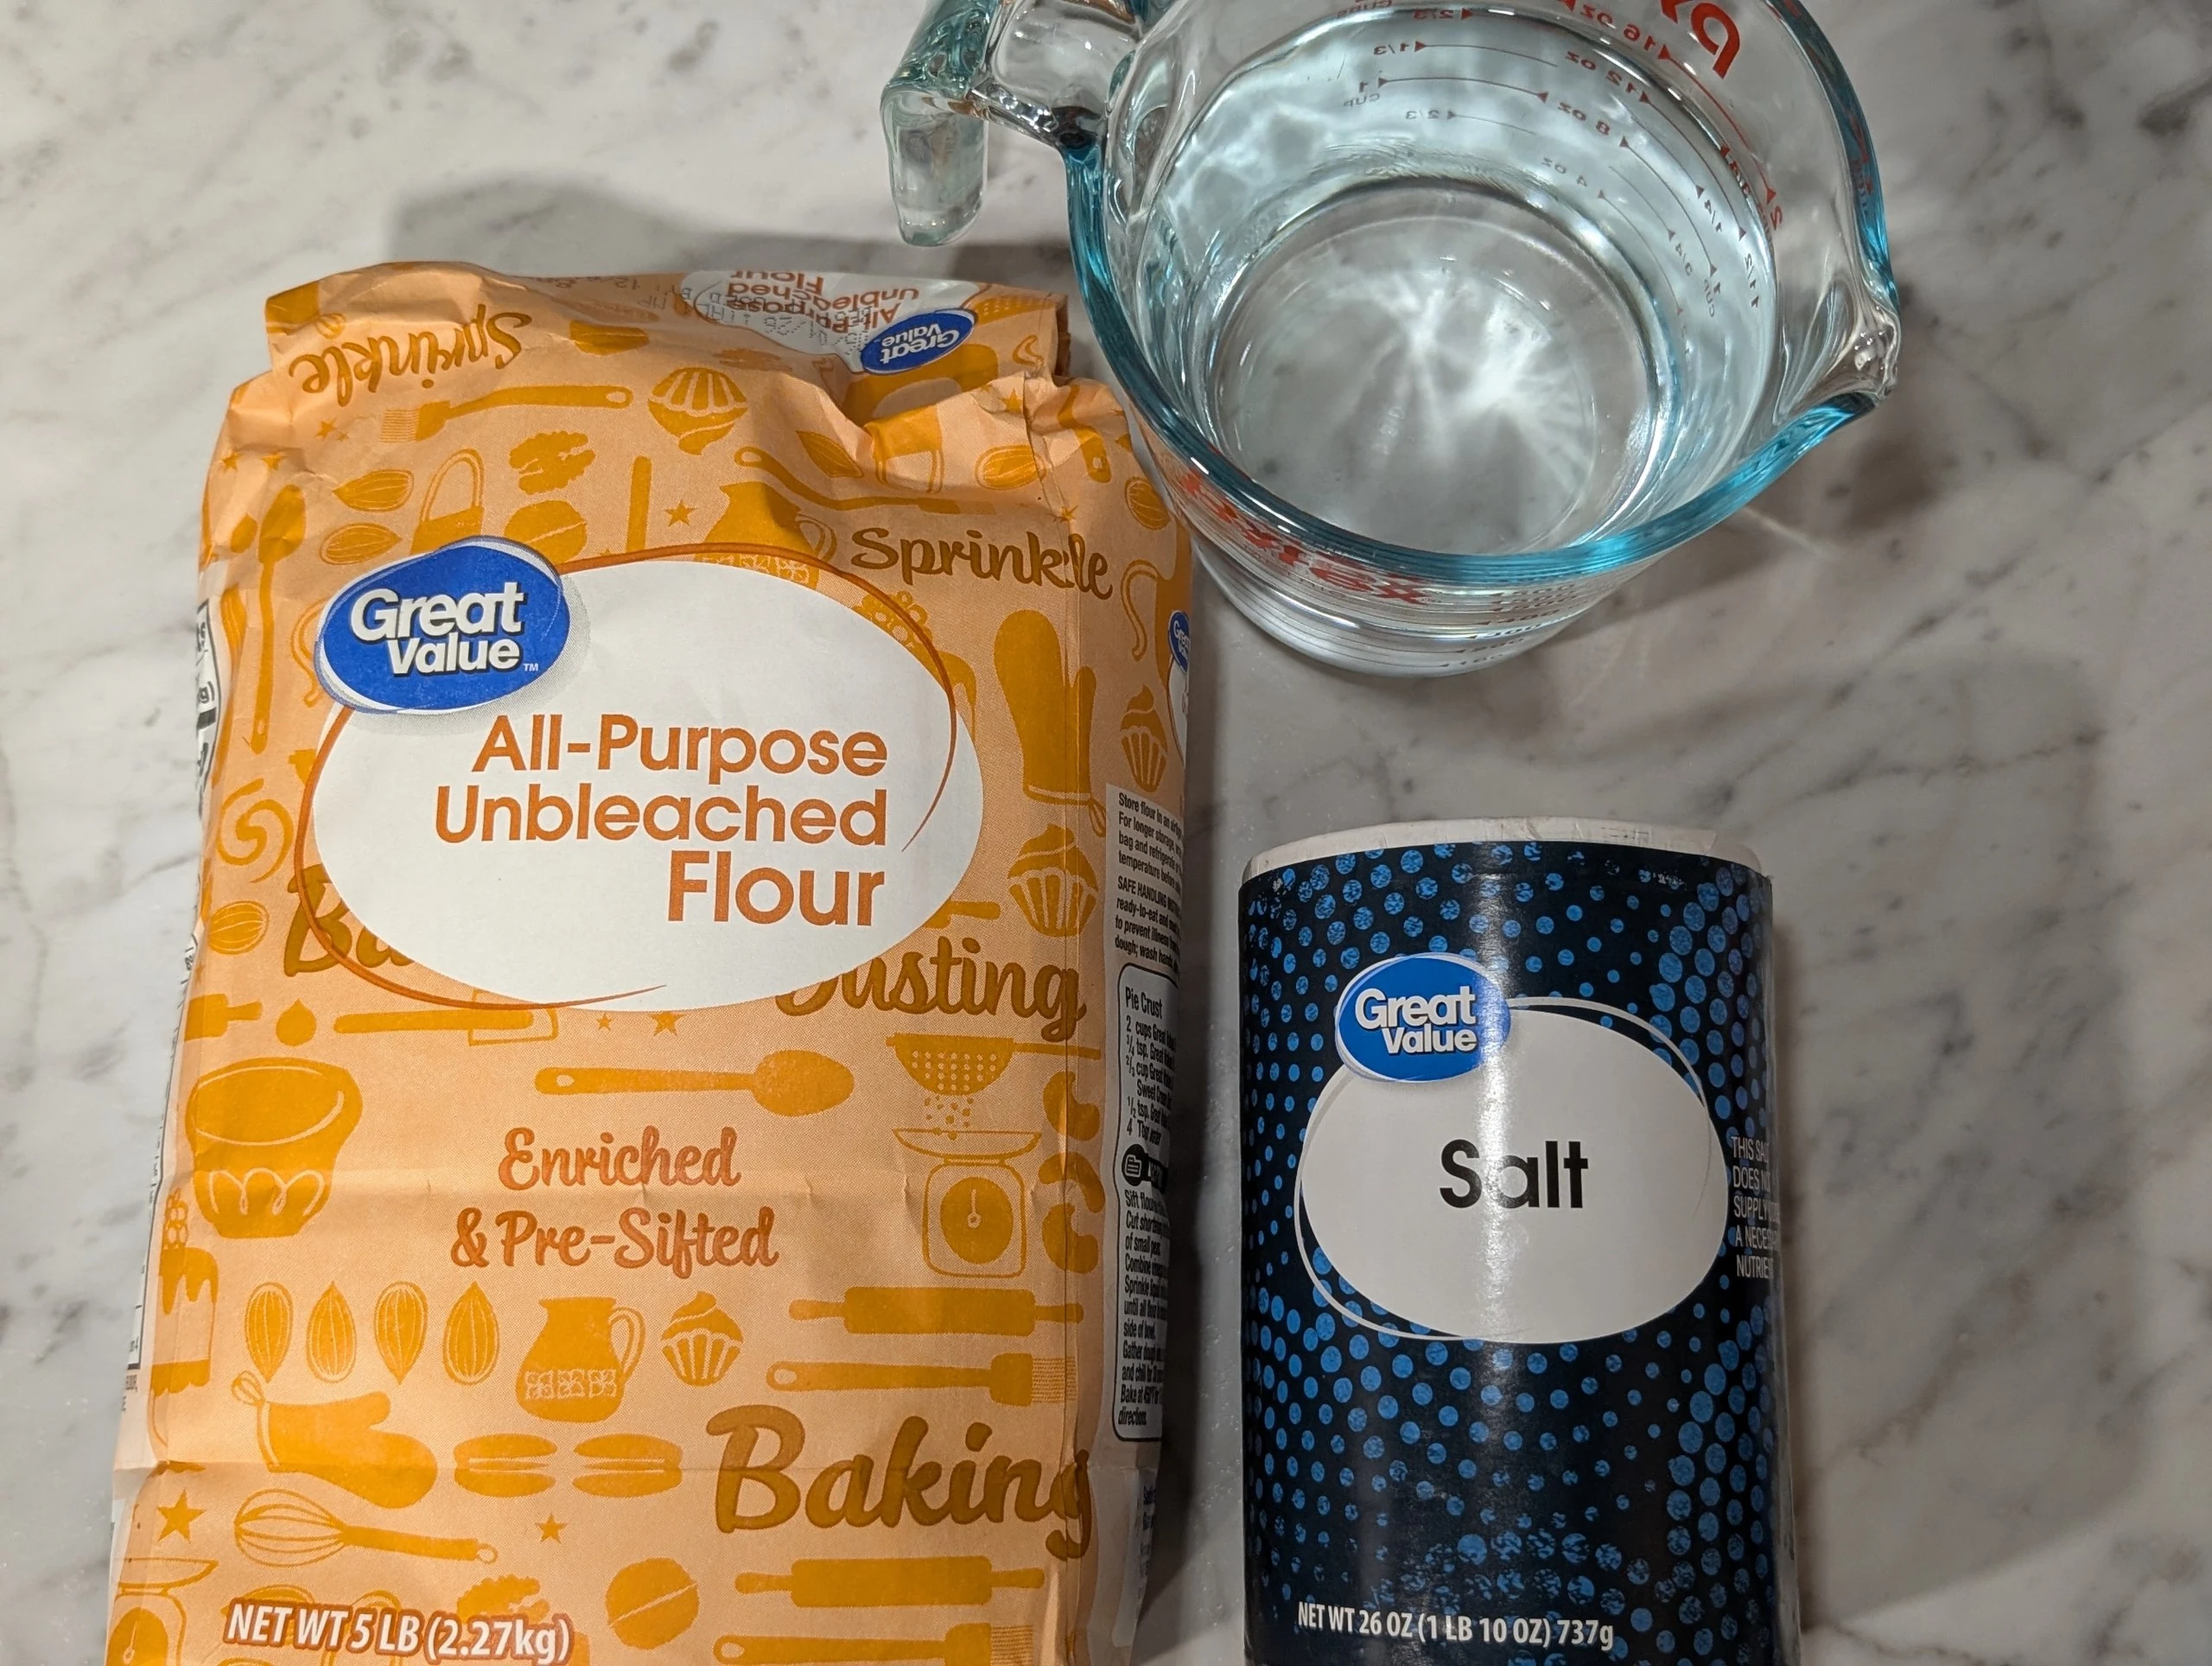
The basic ingredients are:
- All purpose flour
- Salt
- Water
- Optional: Want to experiment with some rustic or fun colors? Check out my Coffee Salt Dough Ornaments and Naturally Colored Salt Dough Ornaments!
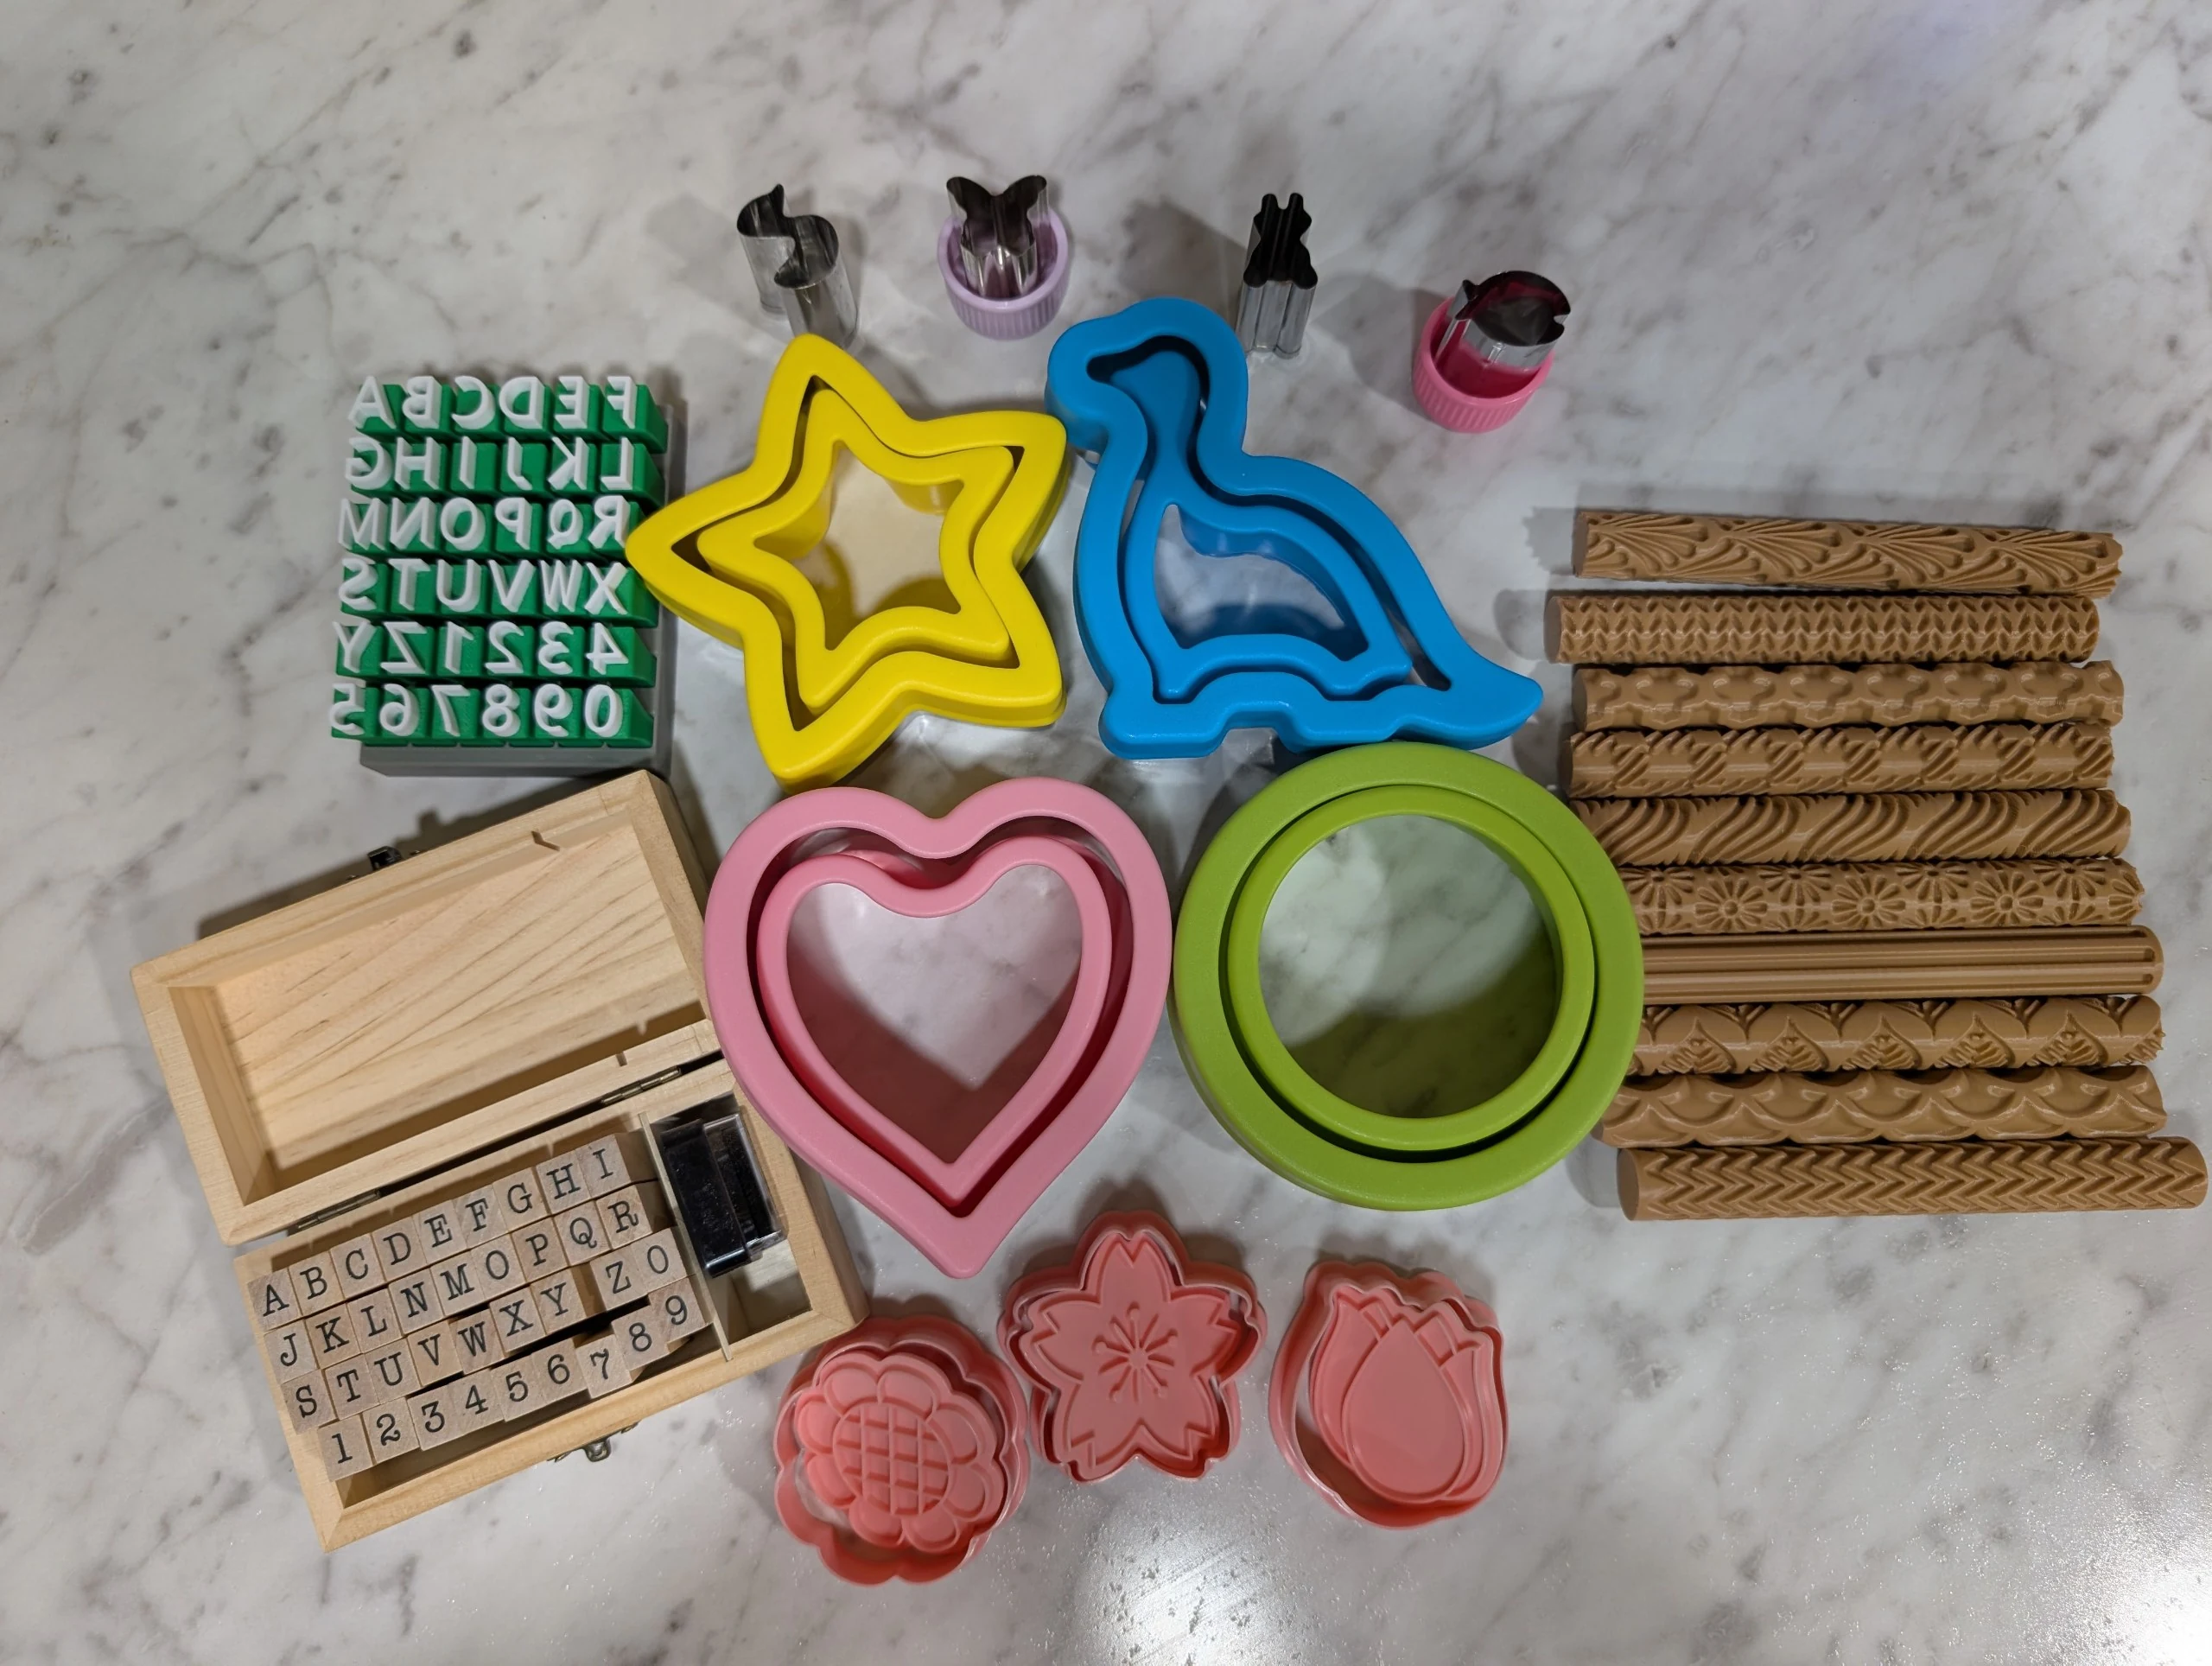
- Medium-sized mixing bowl
- Spoon (although hands work well)
- Measuring cups or kitchen scale
- Rolling pin
- Cookie cutters or other small cutters.
- Optional: textured rollers or letter stamp
- Baking Sheet
---
Recipe
- 1 Cup All Purpose Flour
- ⅓-½ Cup Water (add slowly and only more if it’s too crumbly)
- ½ Cup Salt
---
Step-by-Step
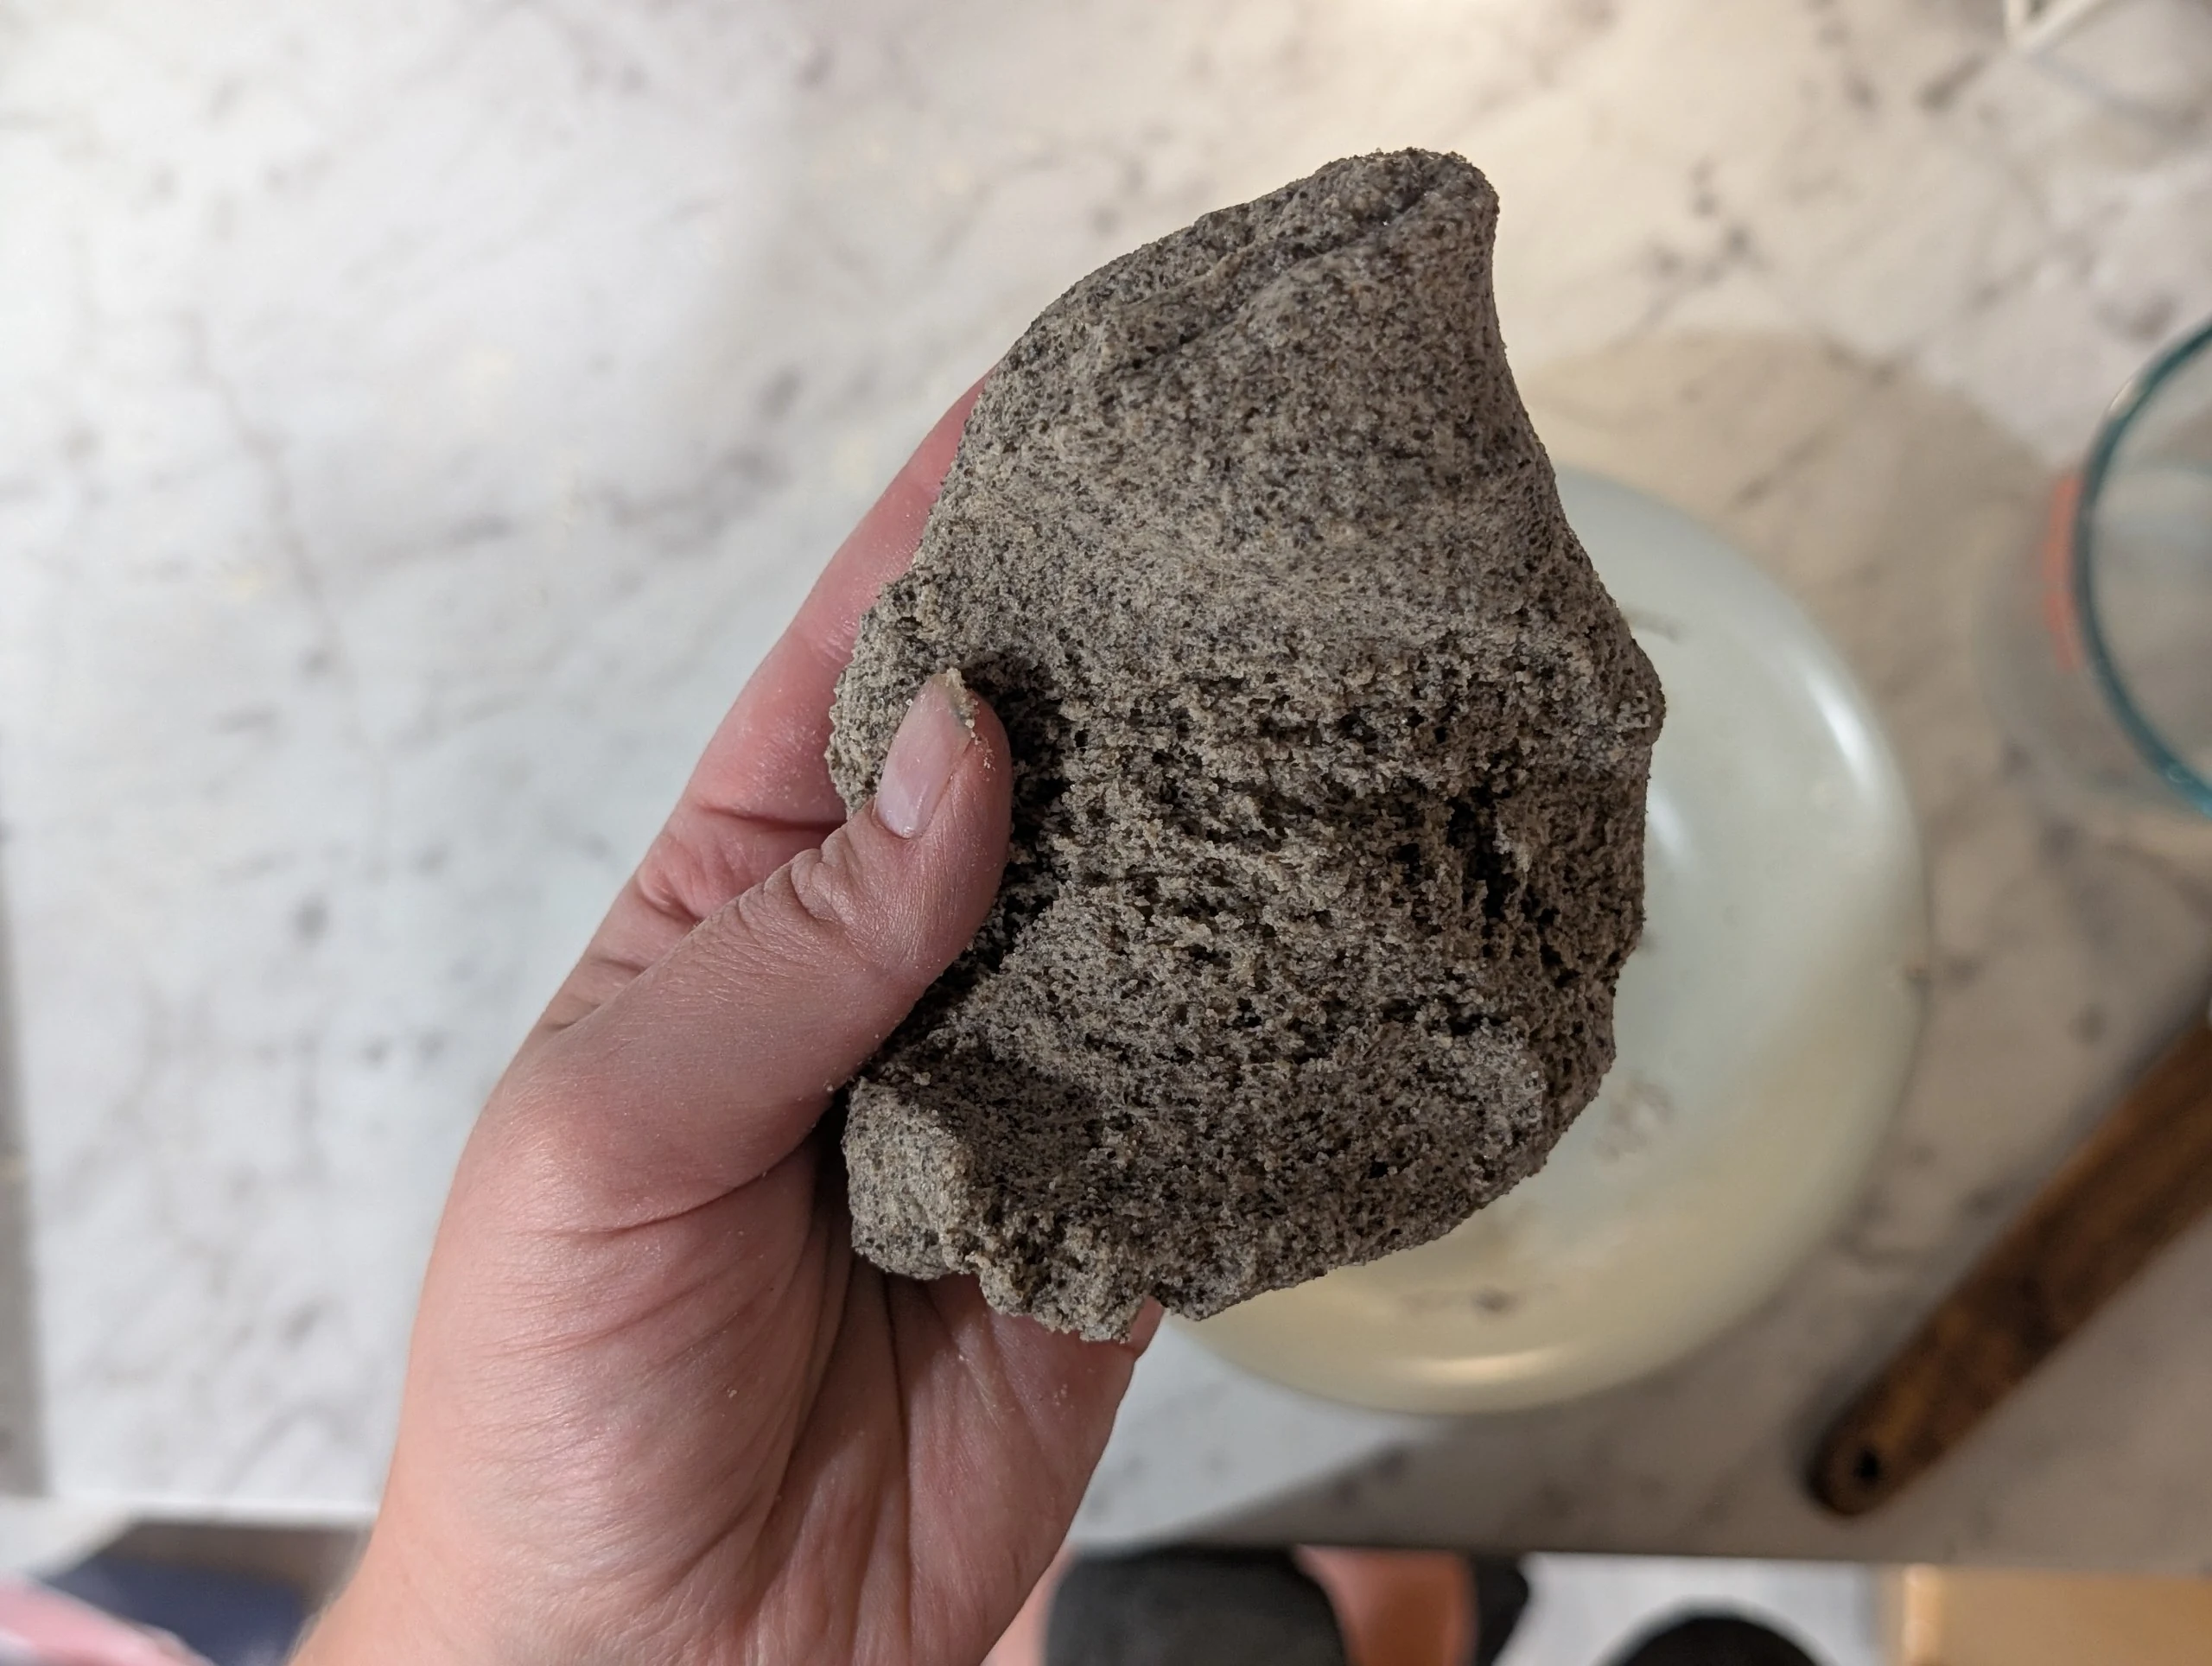
- Mix 1 cup flour and ½ cup salt in a medium-sized bowl. Add ⅓ cup water and mix. Continue adding water slowly until the dough comes together.
If it is crumbly, add extra water very slowly- like ½ teaspoon at a time. You’re trying to find the right balance of holding the dough together but not adding too much water, which will add bake time.
- Flour your surface and rolling pin
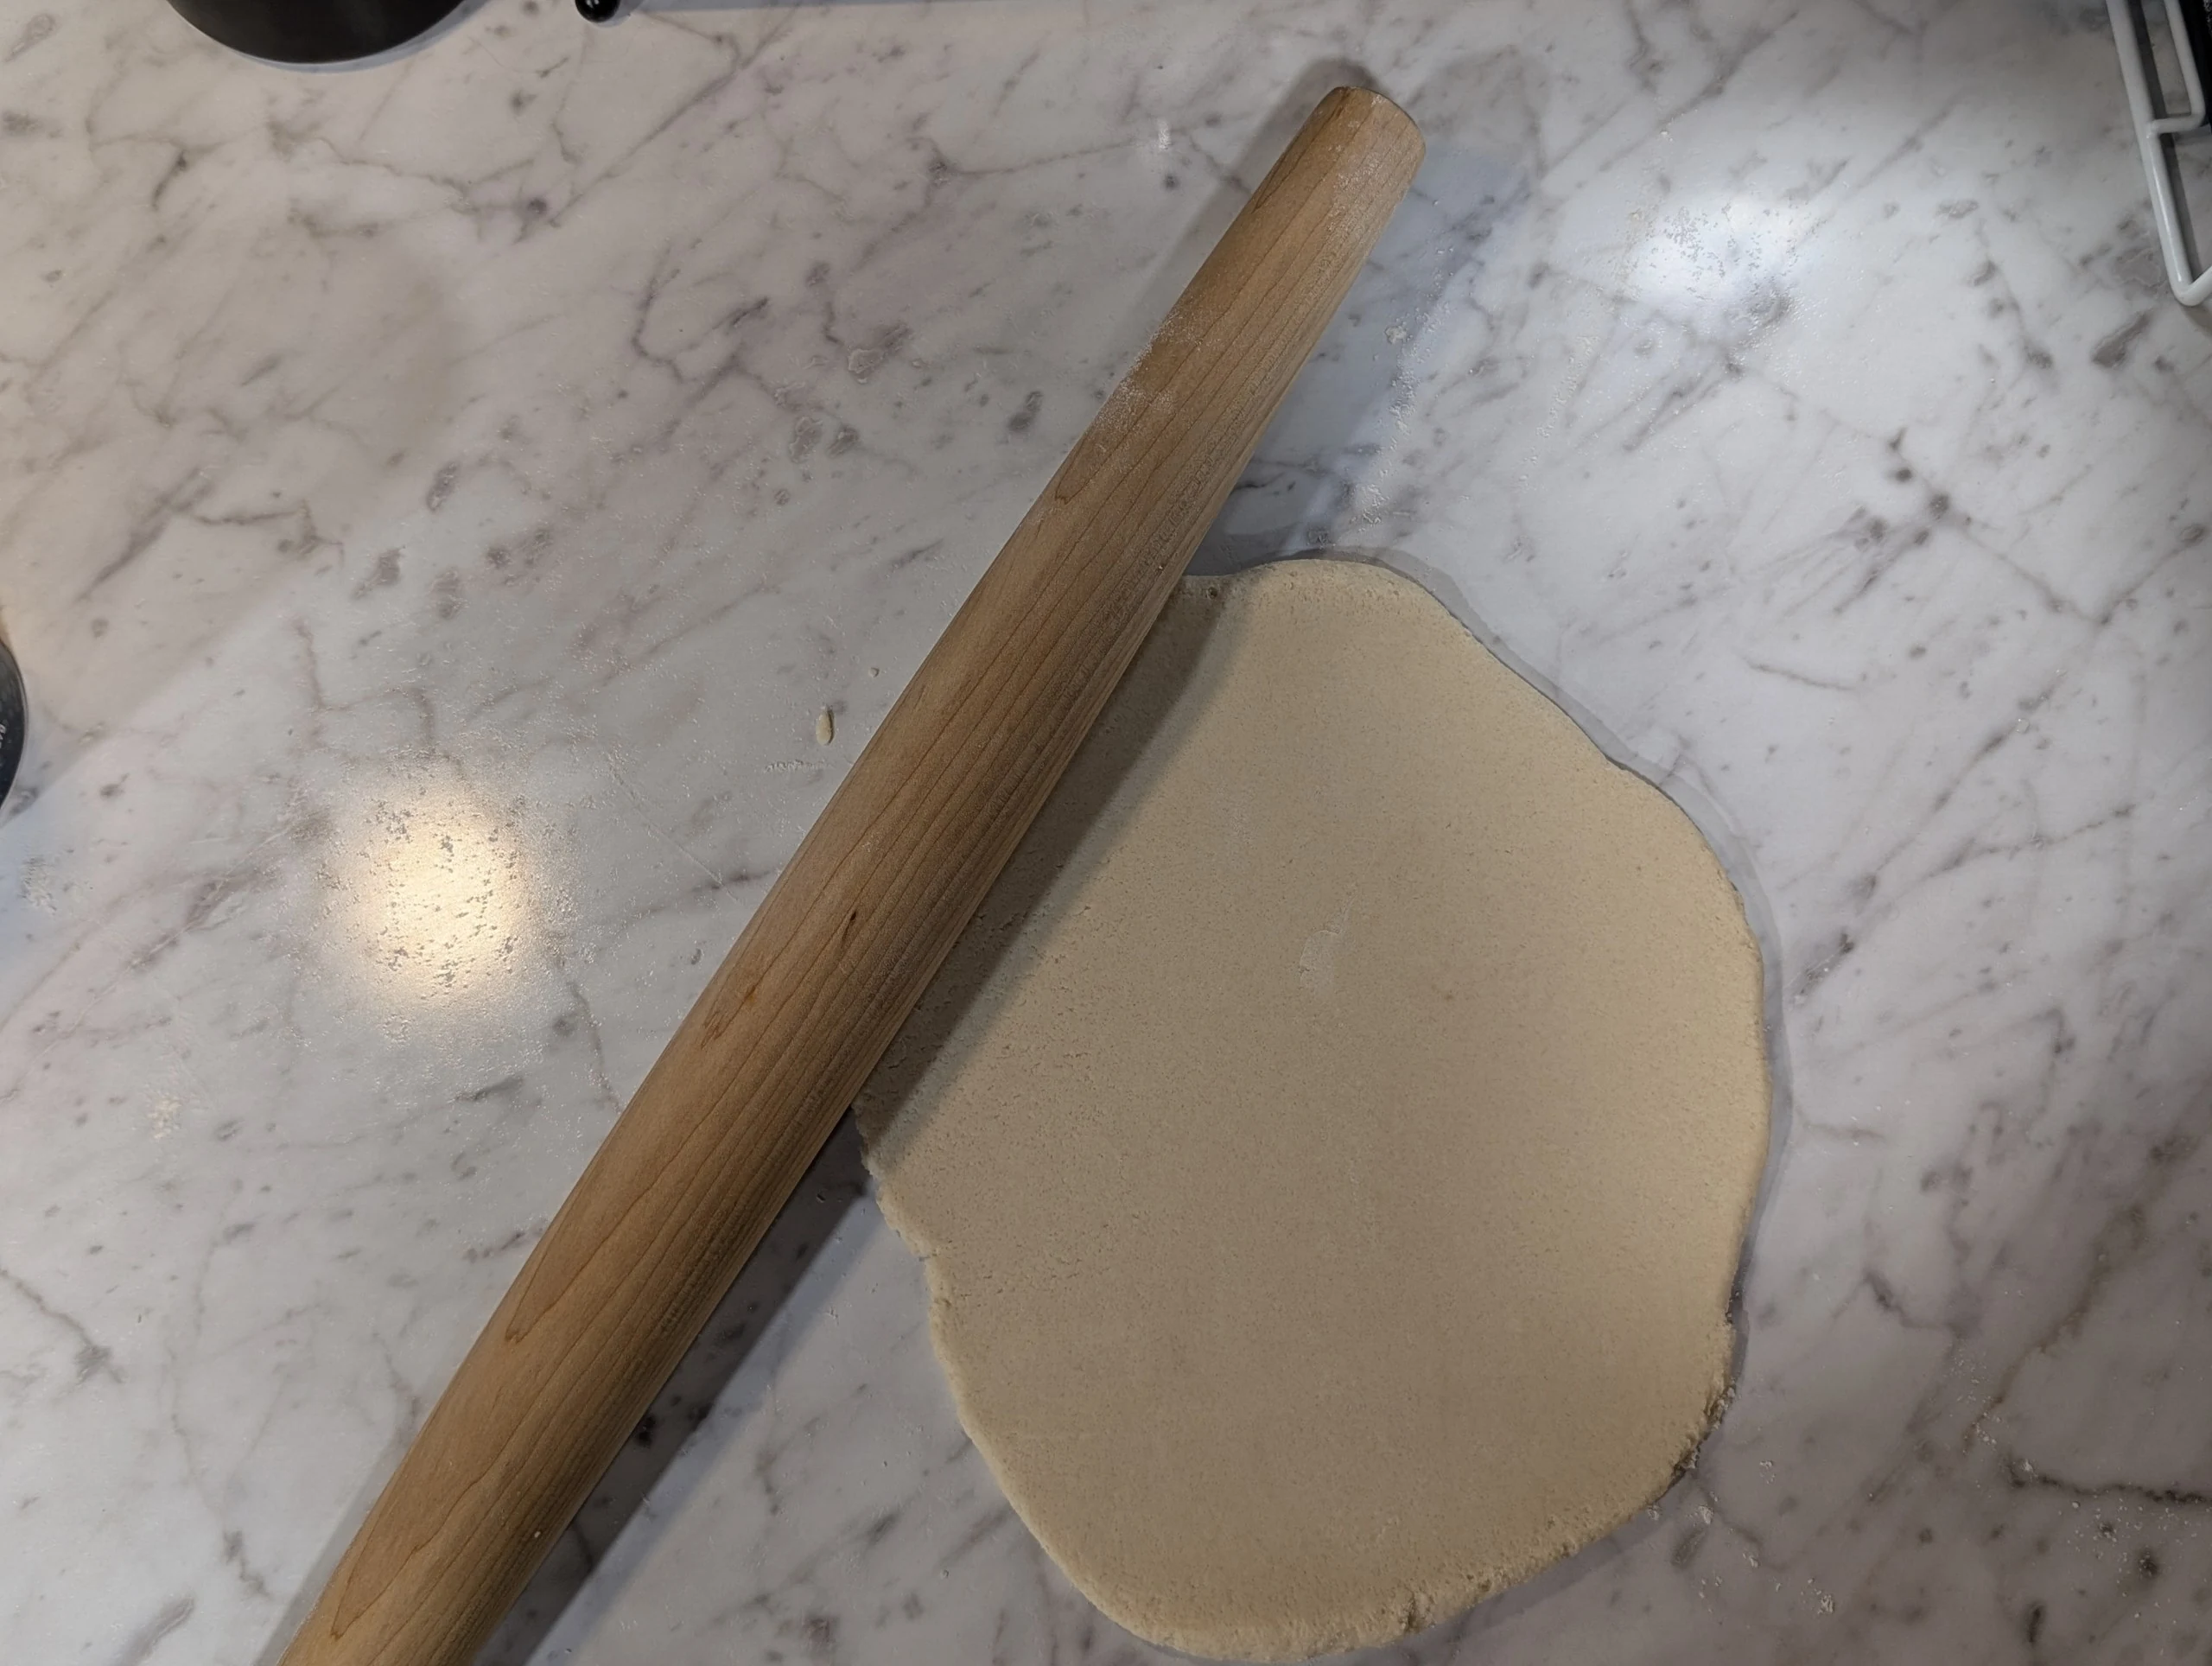
- Roll to ¼" thick
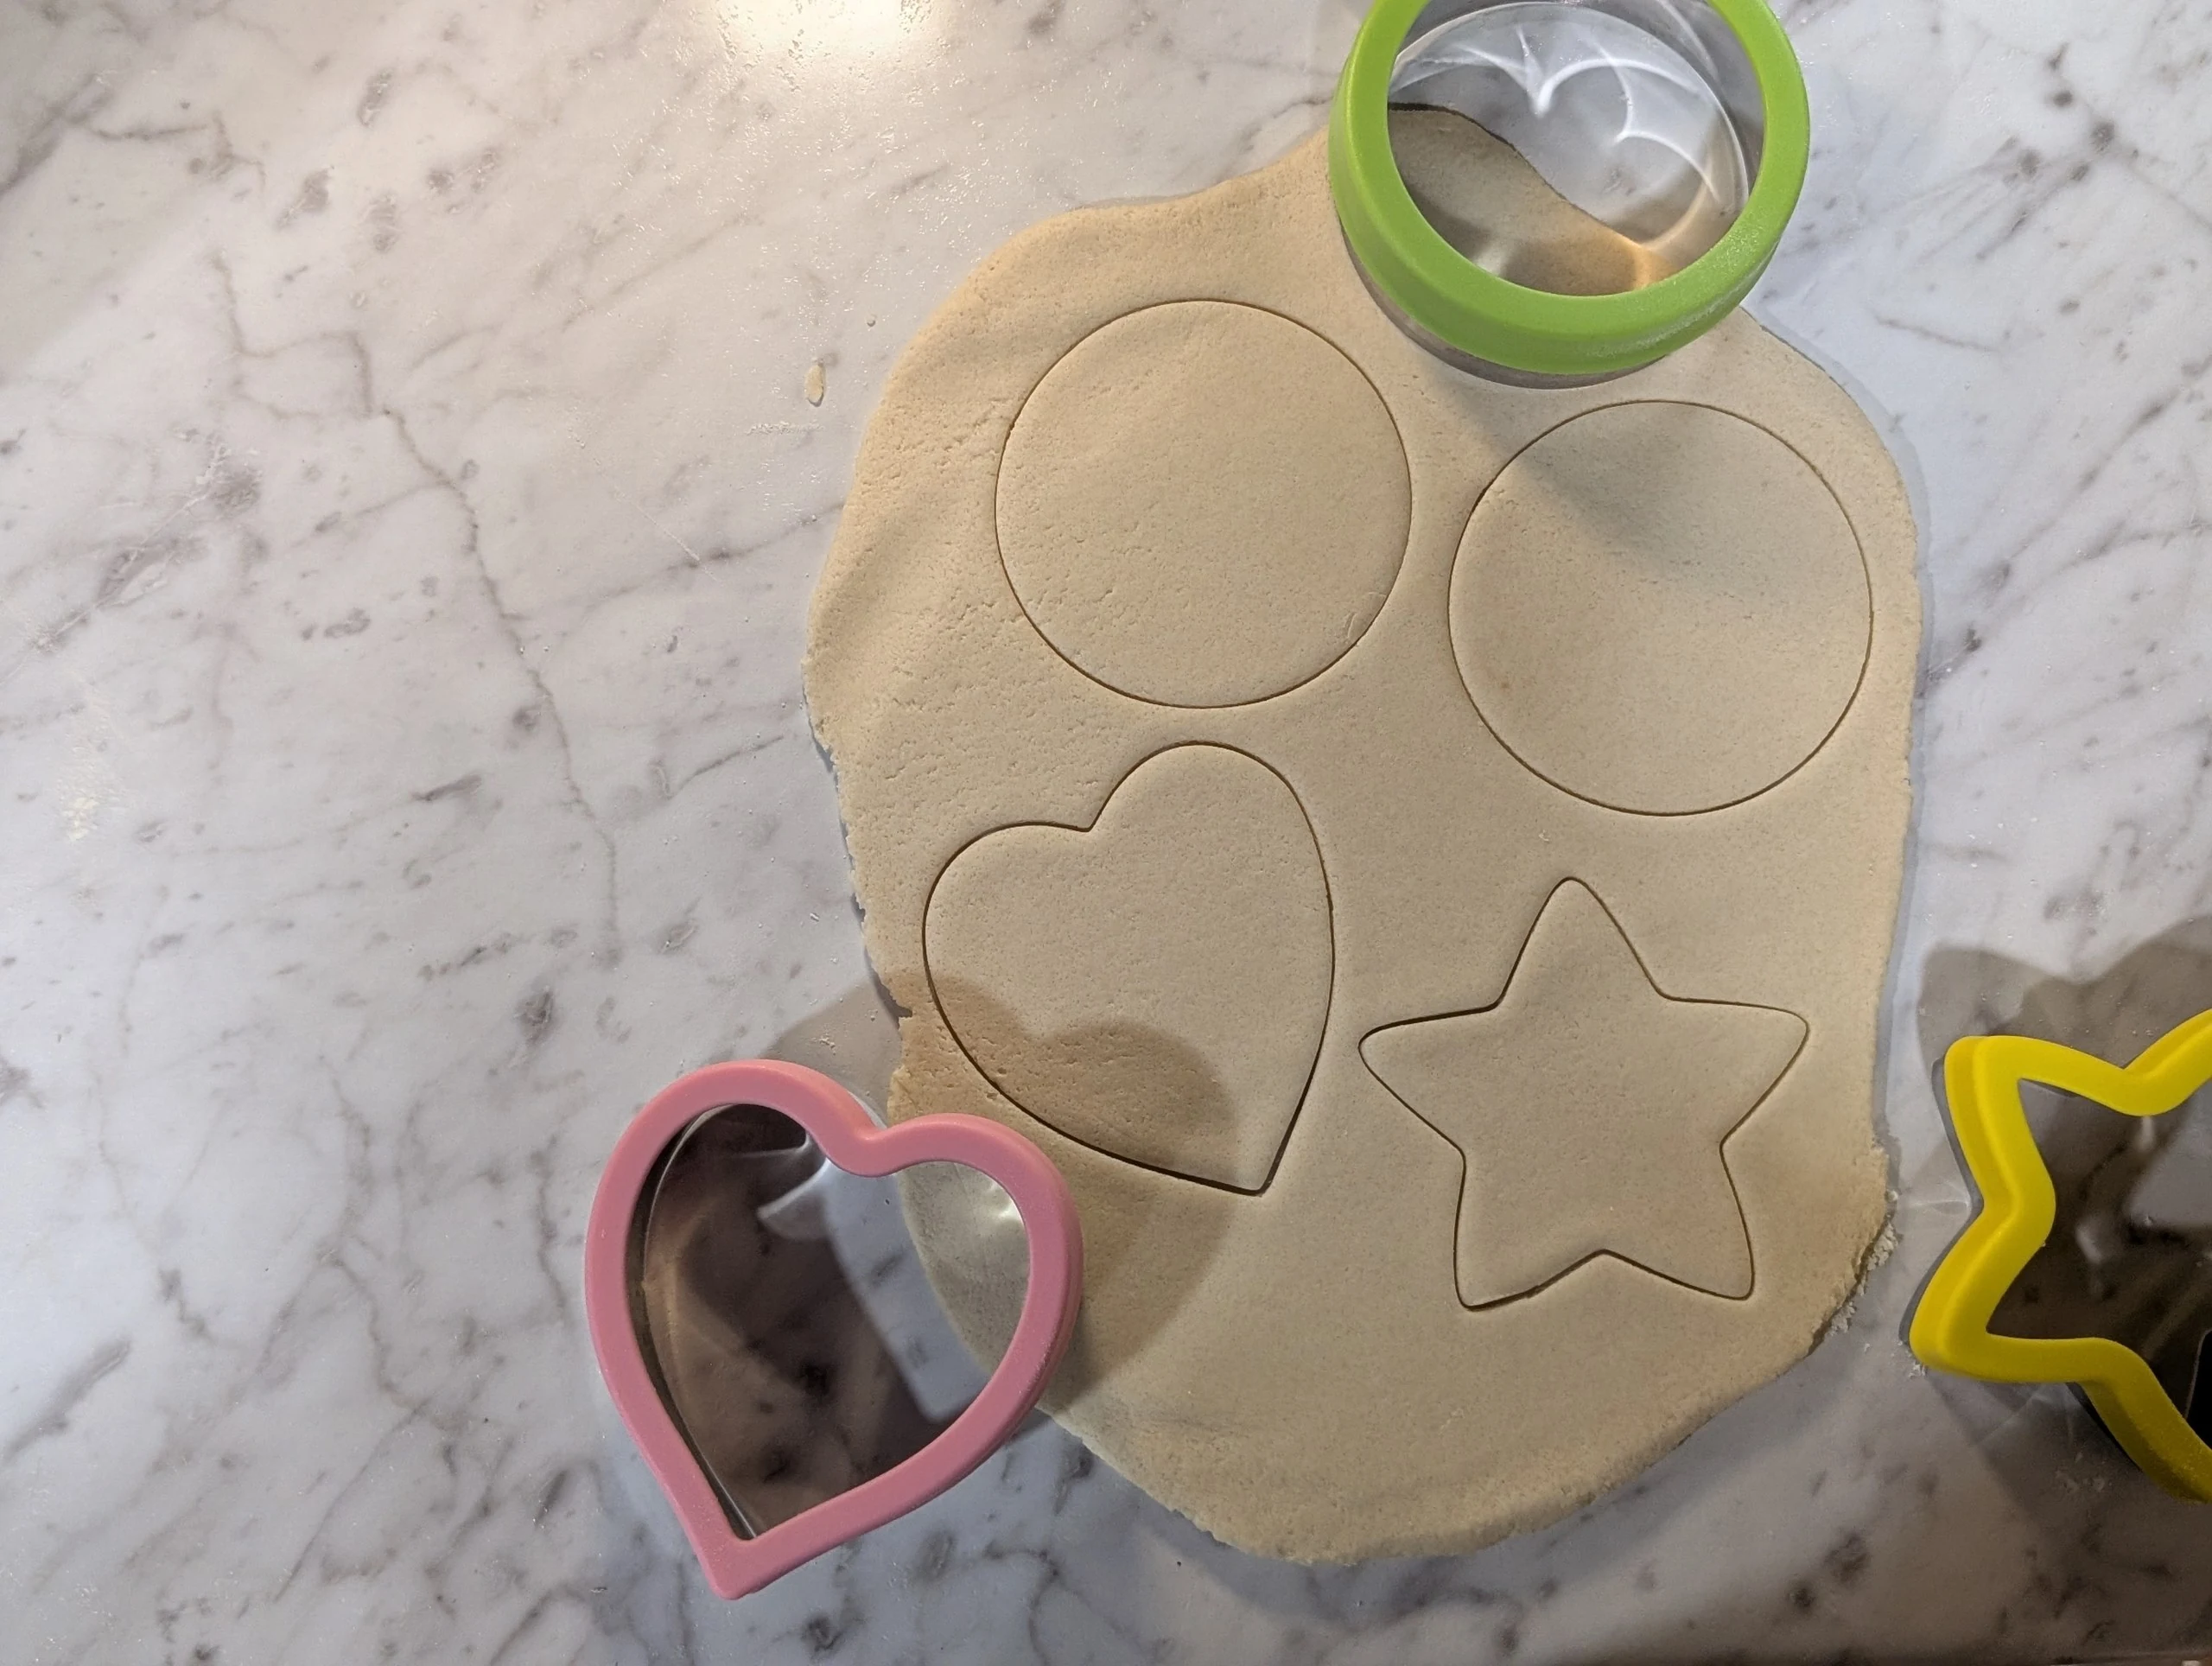
- Cut circles or any shapes and stamp with preferred design - I’ve used “Uncrustable cutters” instead of cookie cutters and they work great!
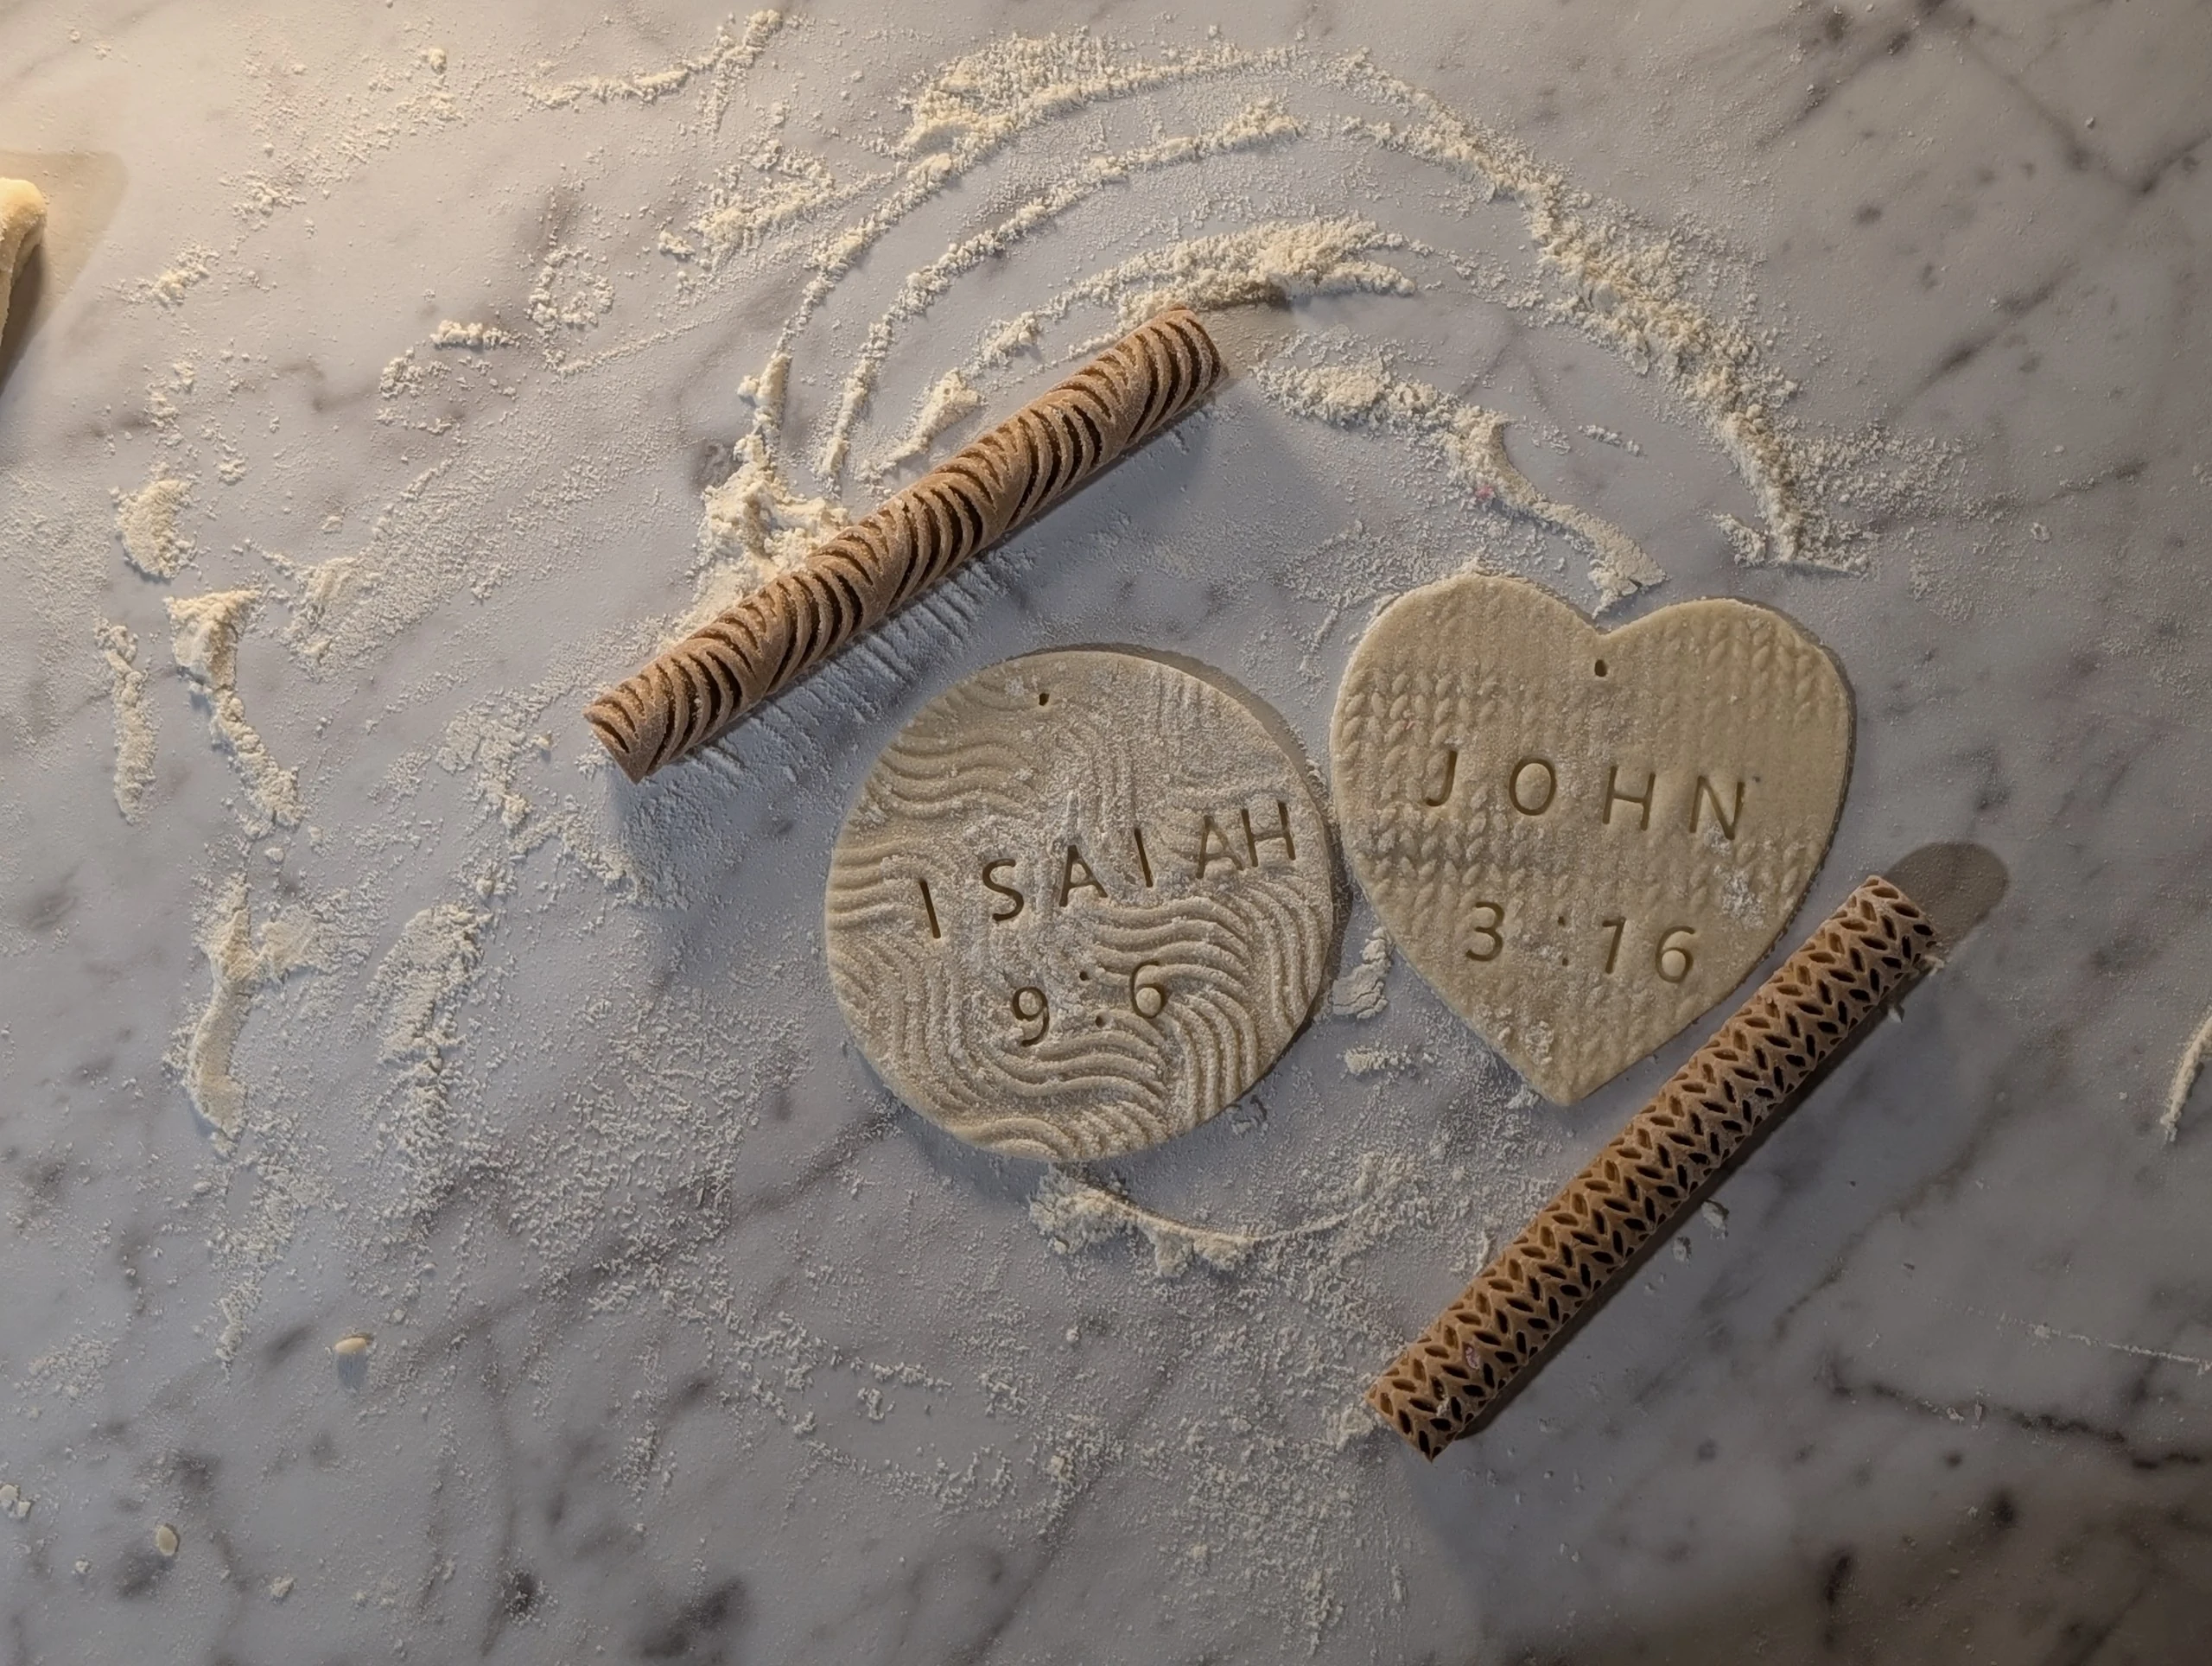
- Use a straw or toothpick (you’ll need to create a bigger opening if using a toothpick) to punch a hole for twine to hang as an ornament
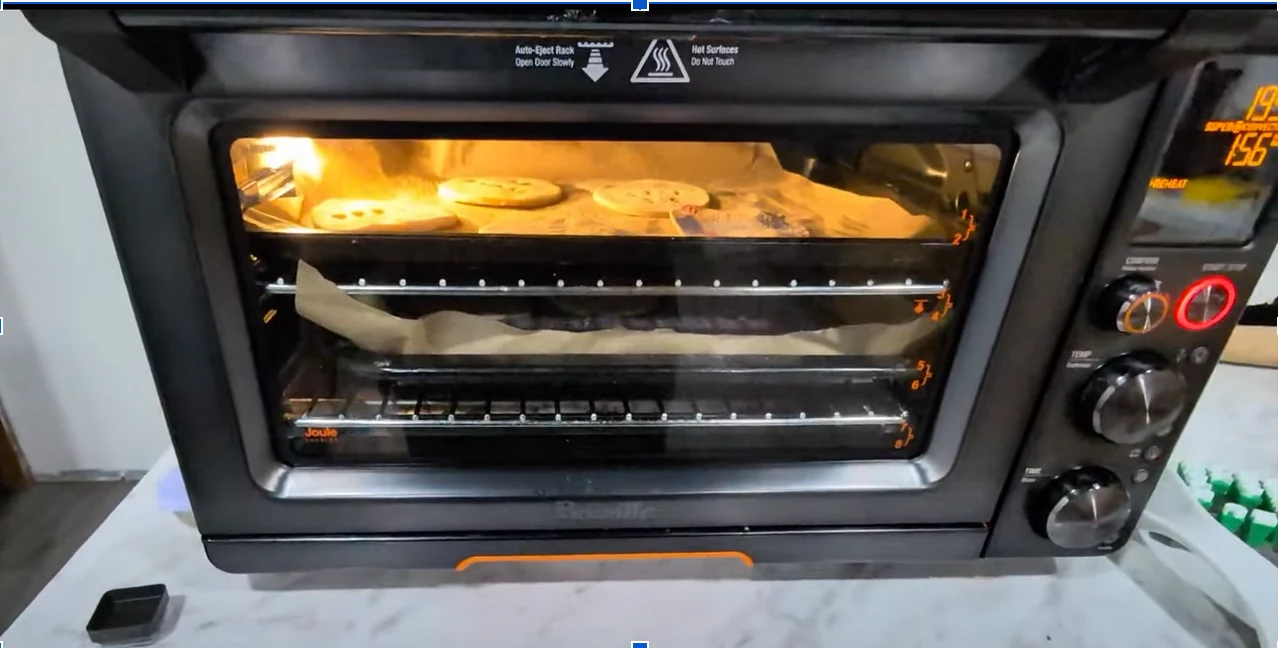
- Bake at 200°F for 2-3 hours. If they’re thicker, they may need more time. I currently just have a nifty Breville Joule toaster oven instead of an actual full sized oven and it worked out great!
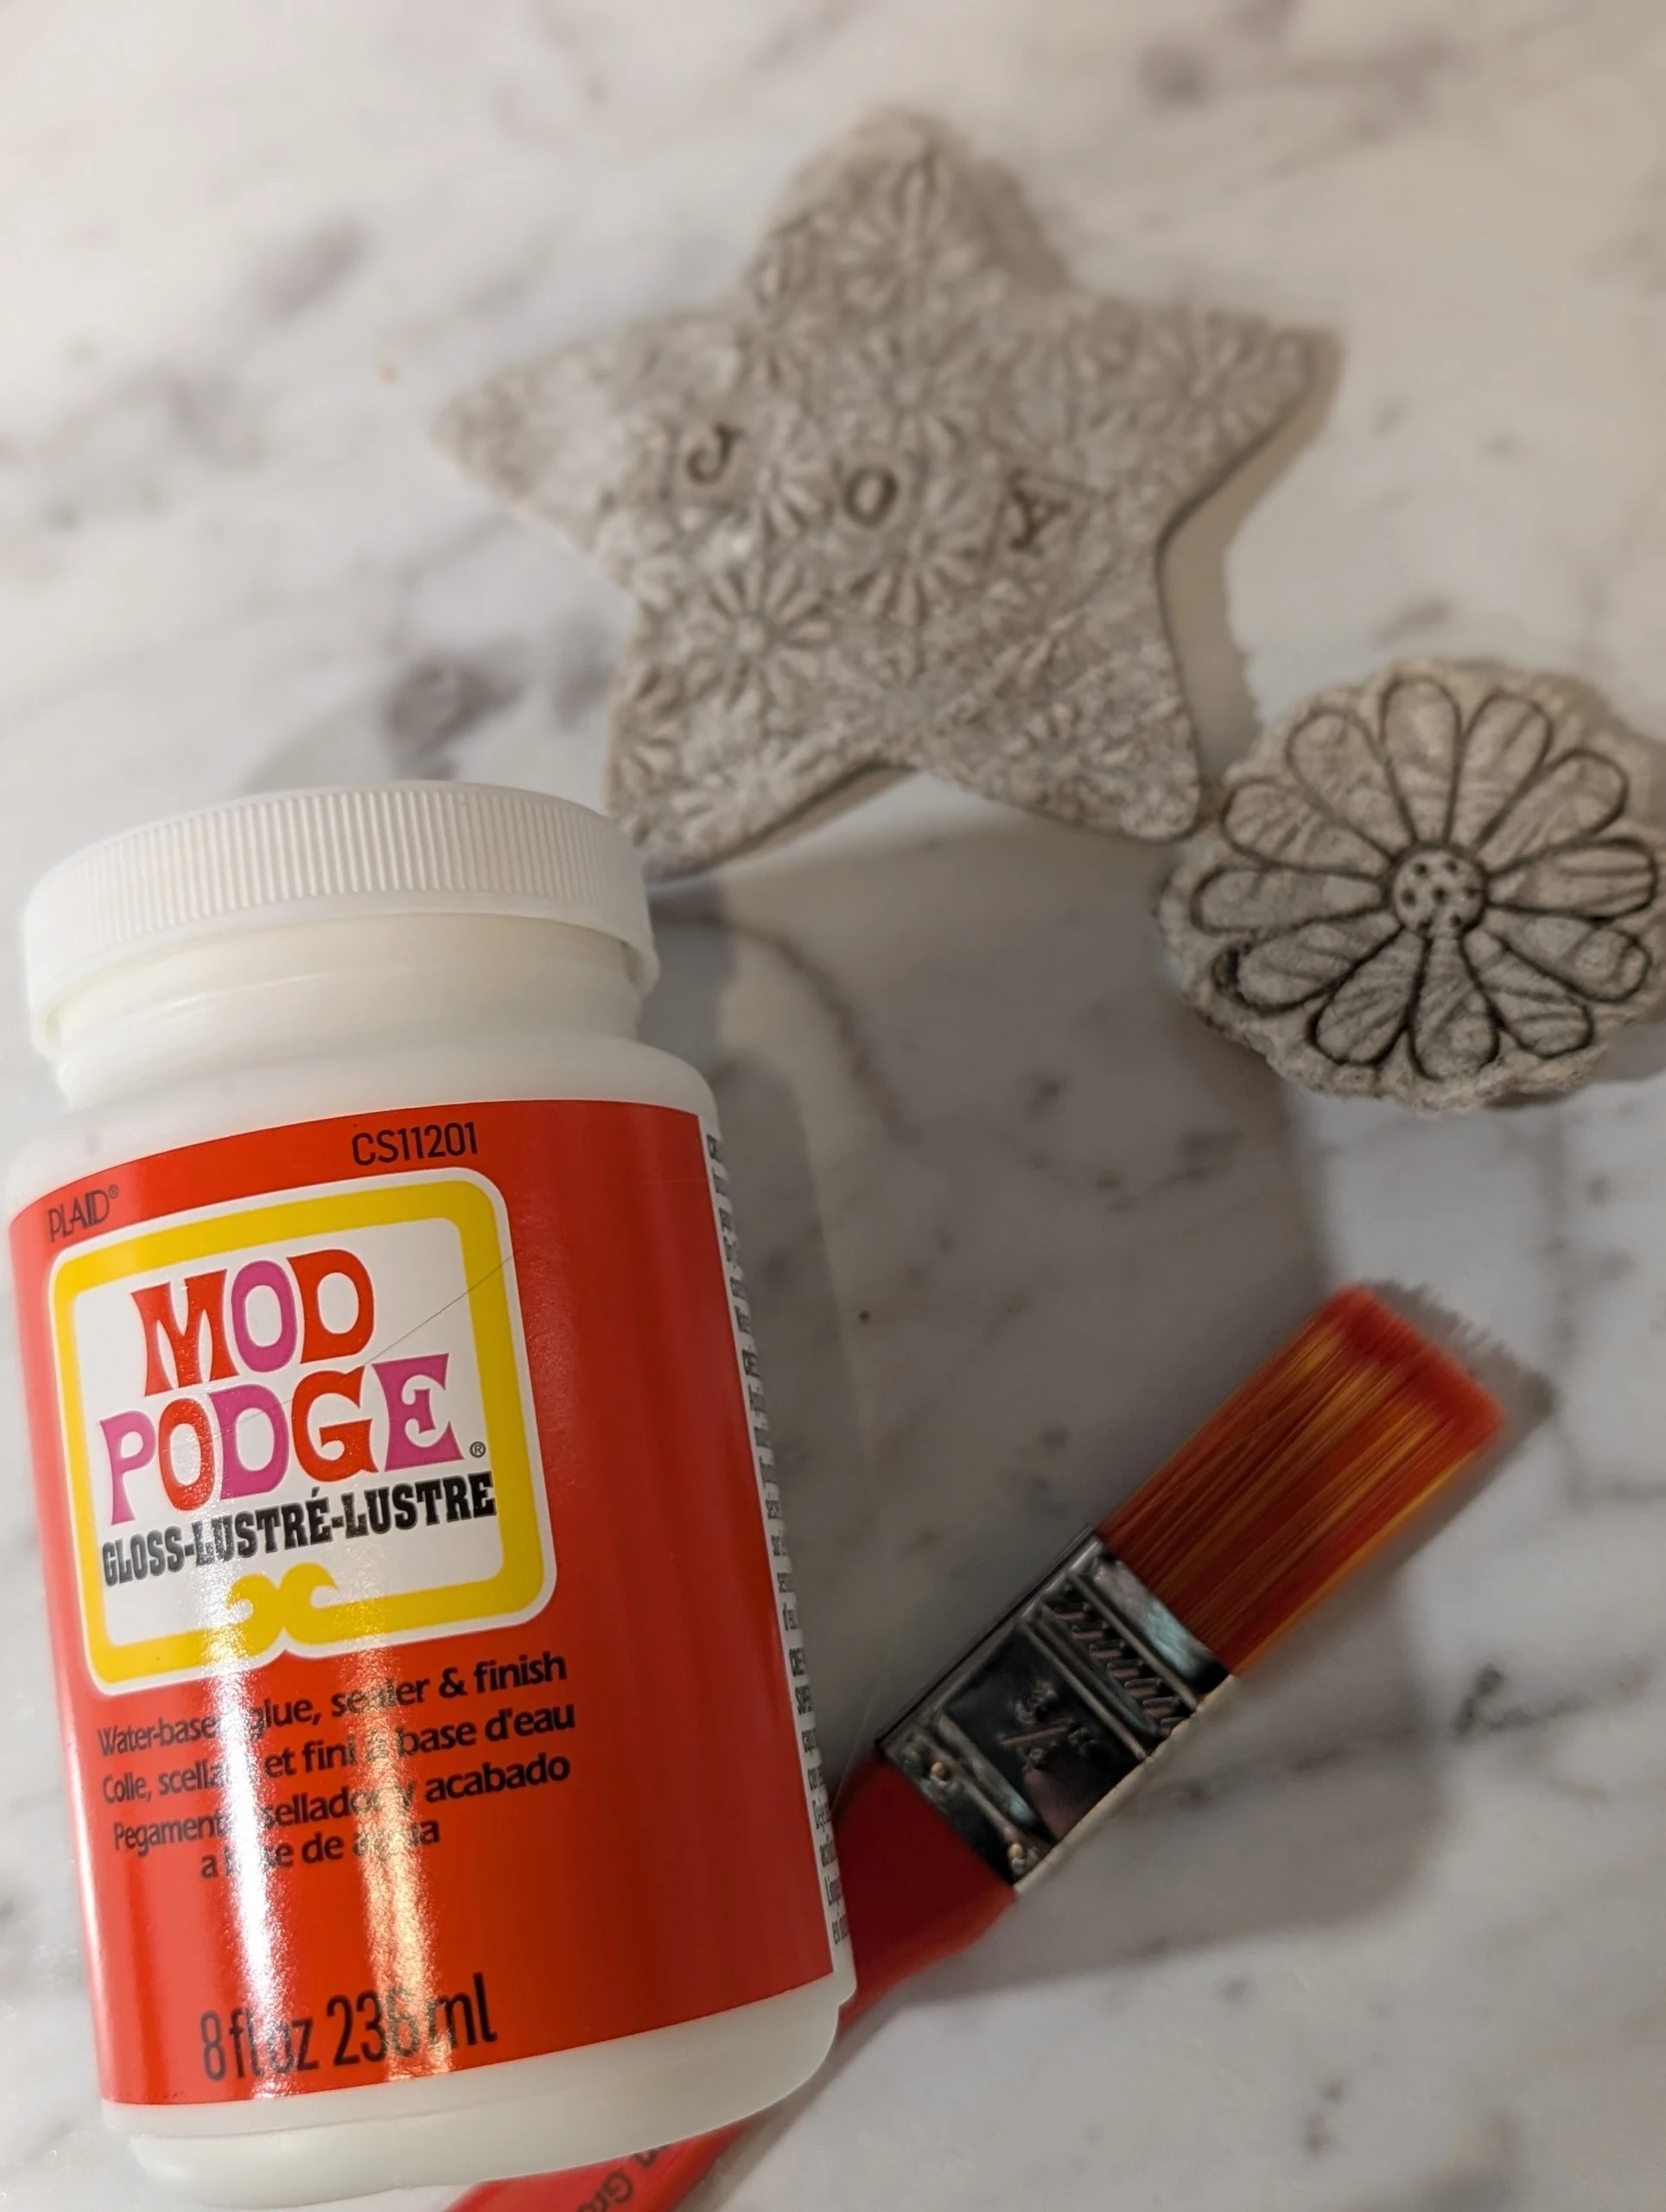
- Optional: For a glossy and slightly stronger ornament, paint a layer of Mod Podge over the ornament.
---
Tips
Things like:
- Roll evenly.
- Don't make them too thick or they may not bake all the way through or take forever to bake
- Don’t make them too thin or they will curl up as they bake and dry.
- Place the hole before baking. You can use a toothpick instead of a straw but you need to create a big hole. As the dough bakes and dries, a small hole will essentially close up.
- Let them cool completely.
- Mod Podge definitely needs time to cure!
---
FAQ
- Can I refrigerate the dough? Absolutely! You can wrap it in cling wrap and place it in a closed container. I’ve never gone past a week. If it seems dry, add a little water to the dough.
- Can you air dry instead of baking? Yes, but it will take days (like 3+ days) instead of hours.
- Do they expand in the oven? Minimally
- Can your kids play with it like Play-Doh? Yes! It’s a great way to use up all the scrappy pieces left over!
- How to tell when salt dough ornaments are done. They should feel hard/dry rather than soft in the center. Thicker ornaments will take longer.
- How long do salt dough ornaments last? If they are sealed and taken care of , potentially decades!
- How should I store them? Moisture is the enemy! Make sure your ornaments are completely dry before storing them. I prefer wax paper or parchment paper instead of paper towels and wrap each ornament individually for the best shelf life. If you don't have the patience to individually wrap them, try layering them in a shoebox: wax/parchment paper, a few ornaments, another layer of paper, a few more ornaments, etc. Avoid storing them somewhere damp or very humid.*